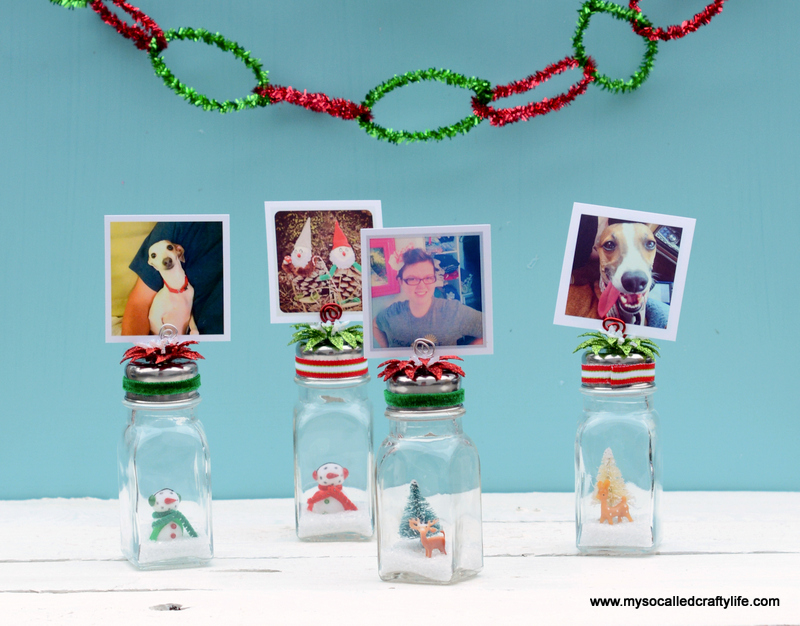
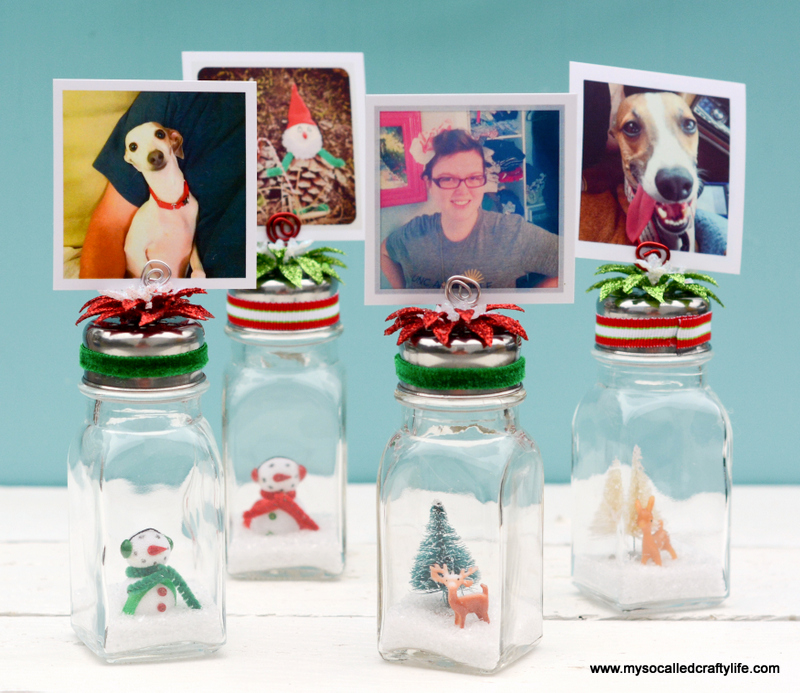
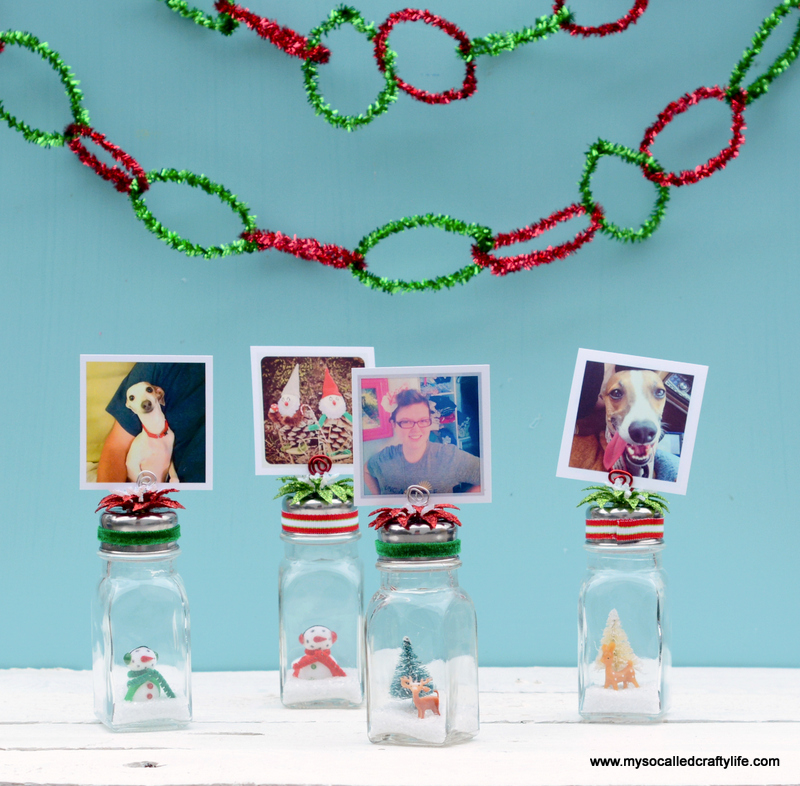
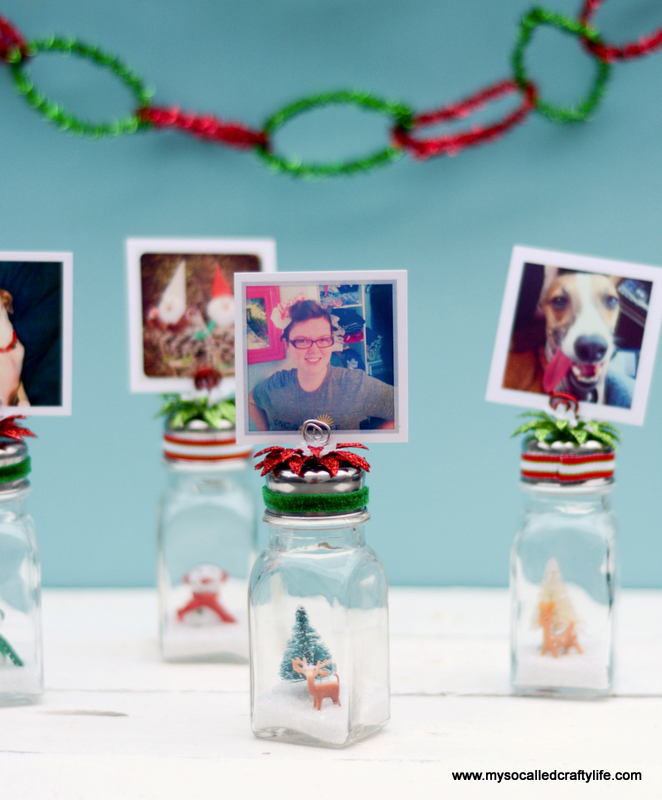
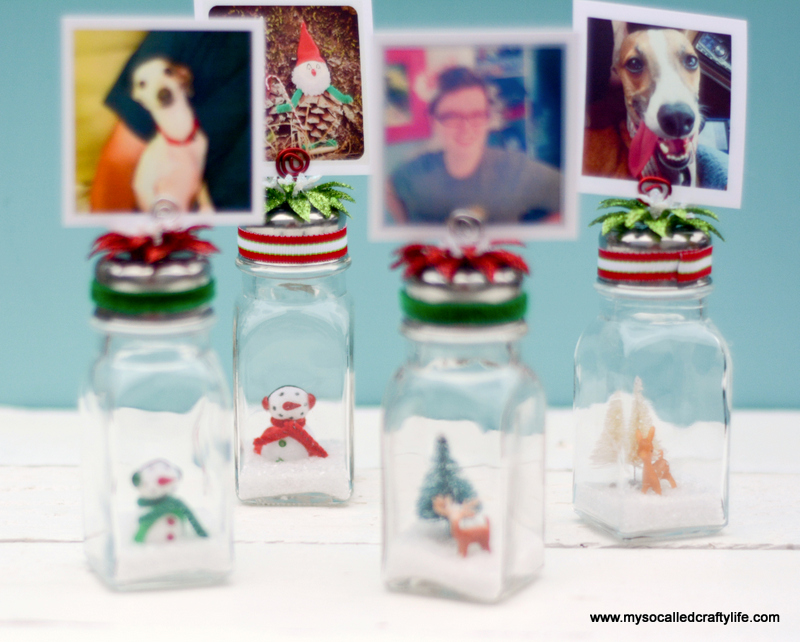
 Hey everyone! One of my favorite things to craft with during the holidays is Christmas miniatures. I love creating little snow scenes, and I am head over heels for any kind of mini deer! I saw some salt shakers at Anthro last year that had little trees in them, and thought they were pretty darn cute. I wanted to make some of my own, but I wanted to add a little something extra to them since I already have jars and bell jar ornaments with snow scenes in them around my home. I thought I’d make mine to be photo holders. They are super easy to make and they make a great conversation piece to add to your holiday decor!
Here’s What You Need:
*Salt Shakers (I bought mine at Walmart)
*Christmas Miniatures (my deer were vintage, my snowmen came from AC Moore)
*Diamond Dust or glitter of your choice.
*Hot Glue and Hot Glue Gun
*Extra Long Tweezers
*Wire
*Glittered Poinsettia (I bought mine at Michaels)
*Jewelry Pliers
*Ribbon or Trim
Instructions:
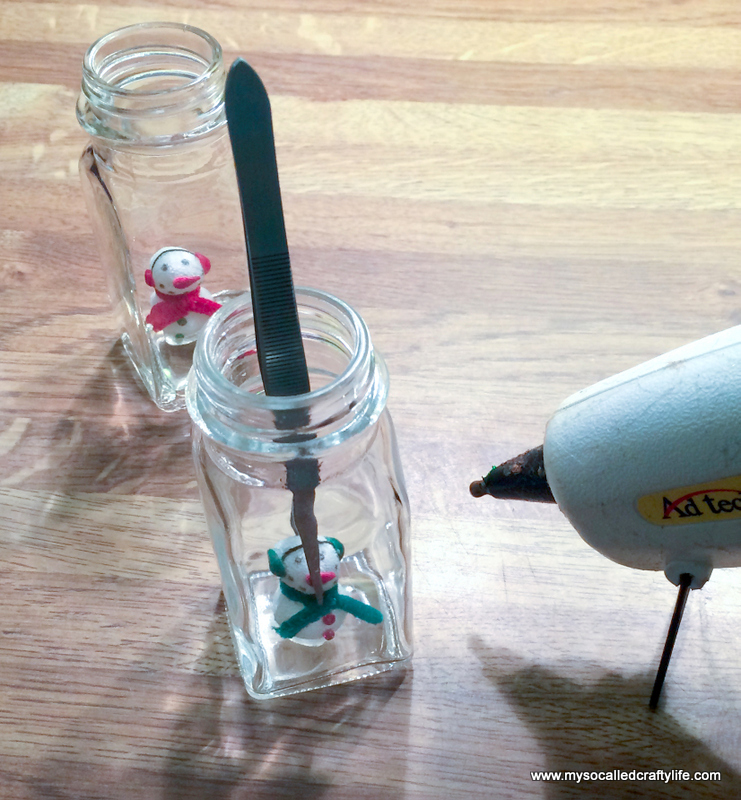
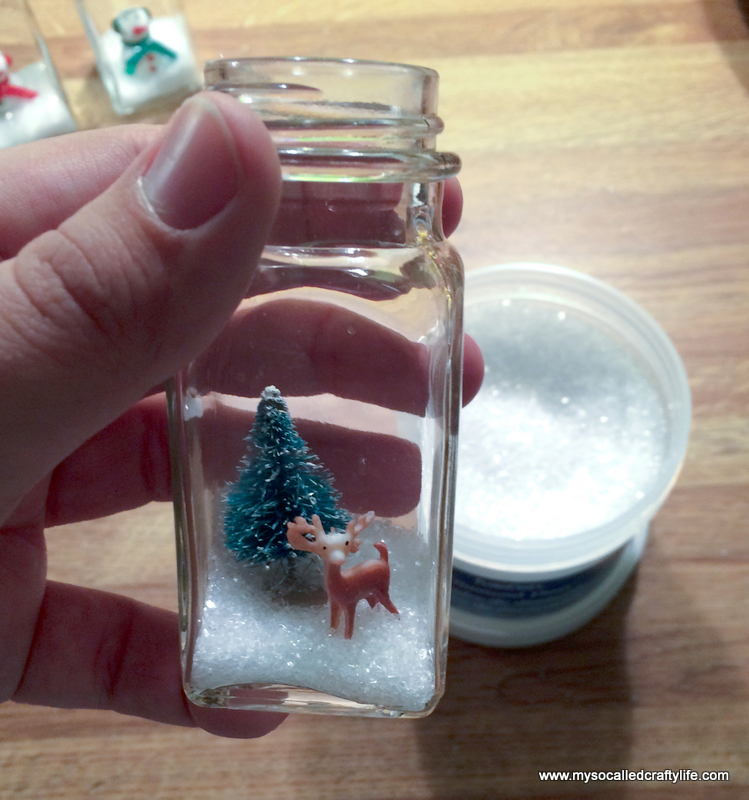
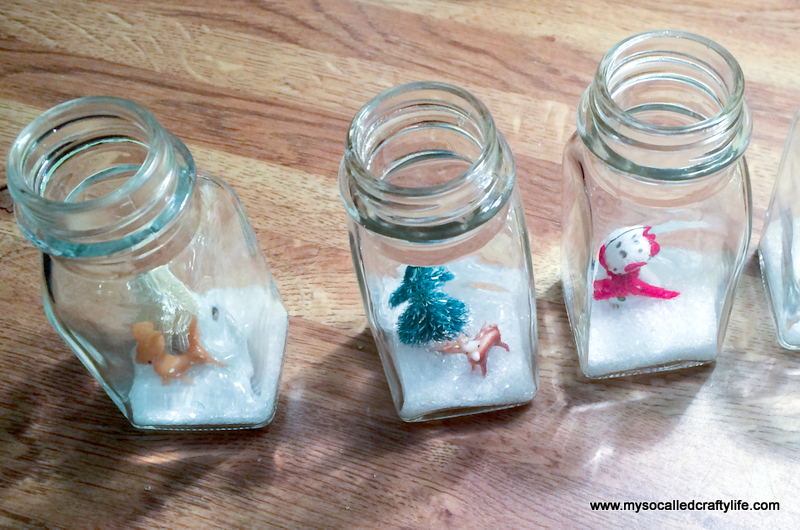
First clean and dry your salt shakers. Next, grab your mini with your pliers and place a nice dab of hot glue on the bottom of your mini. Insert the mini into the open salt shaker and press into the bottom. You may need to hold it in place for a few seconds until the glue sets up.
Now, take a little spoon and spoon in a little glitter into the bottom of each shaker.
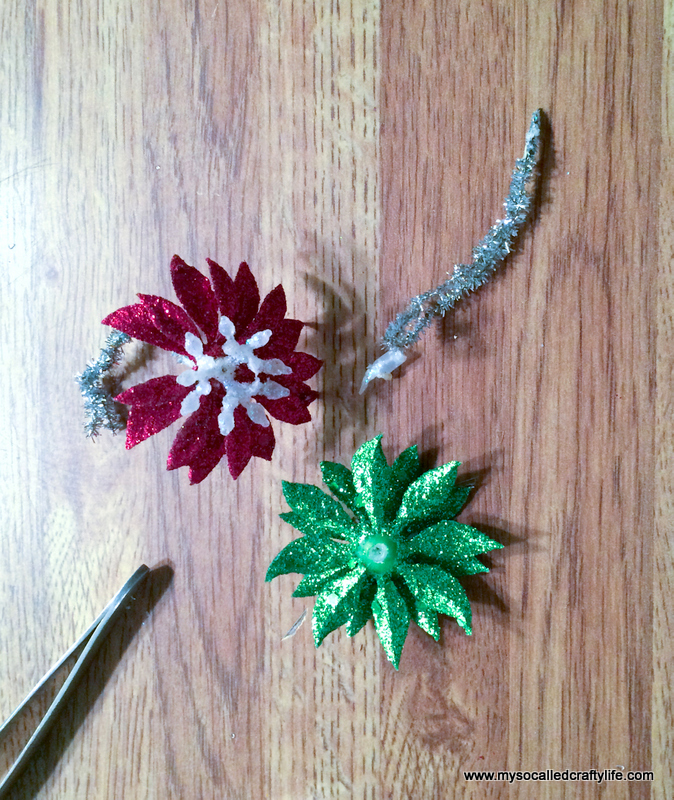
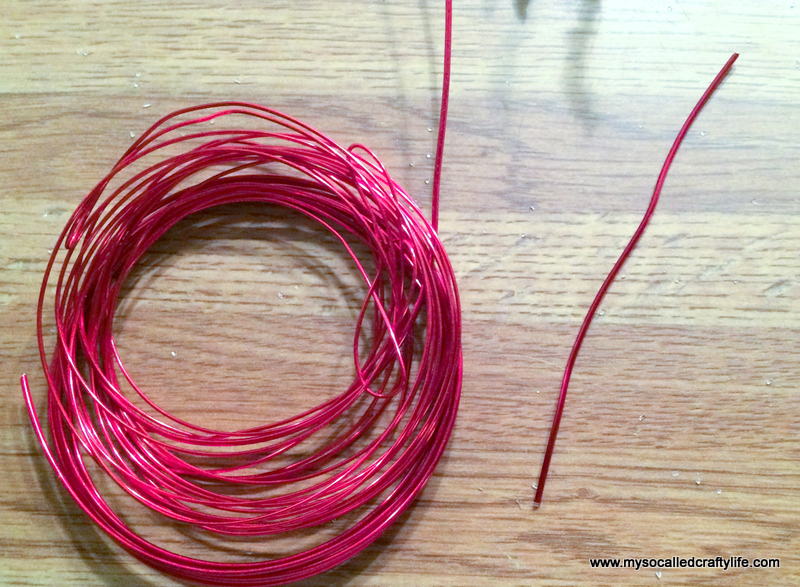
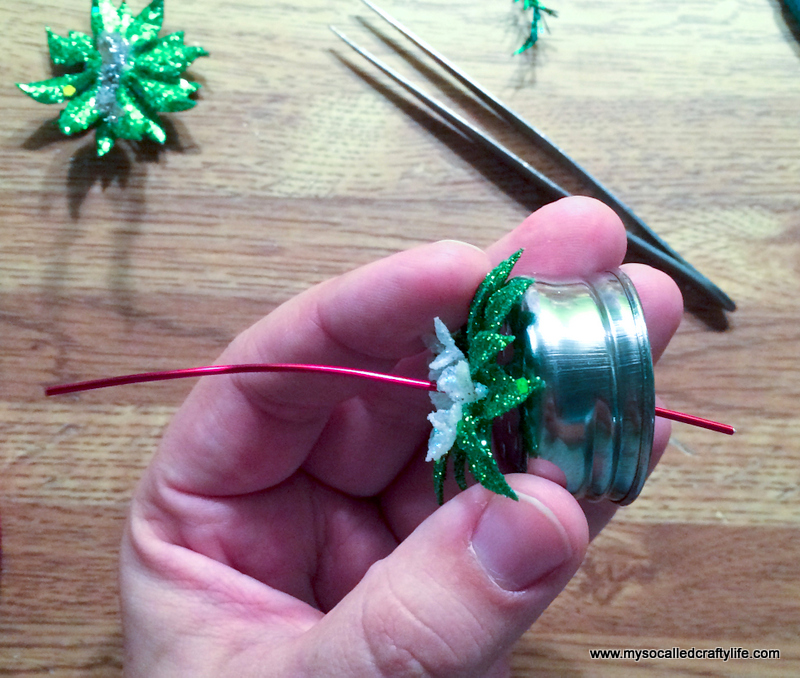
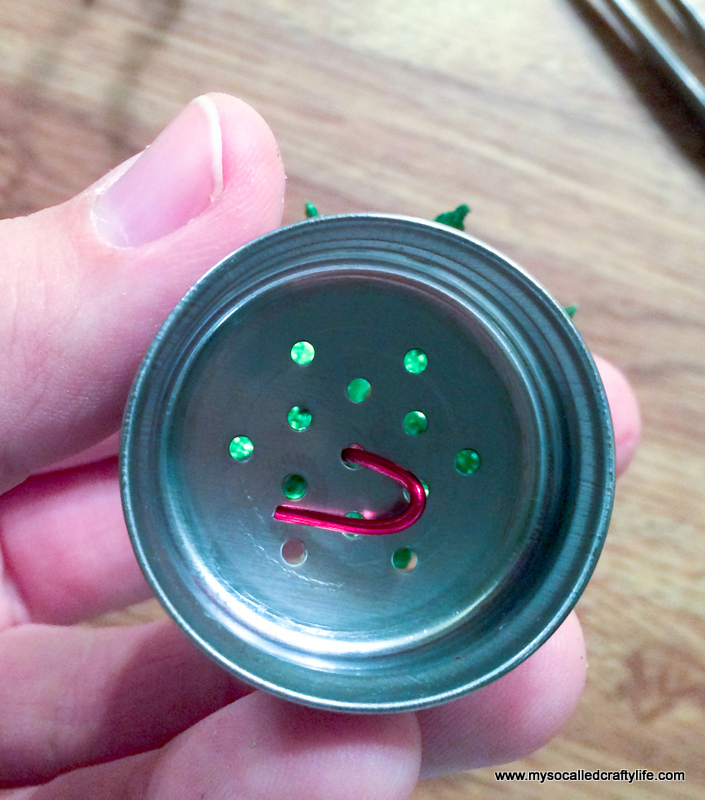
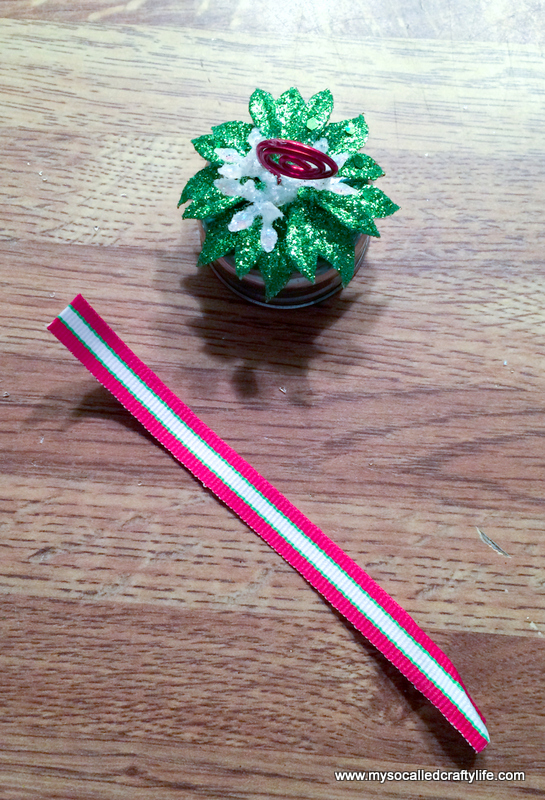
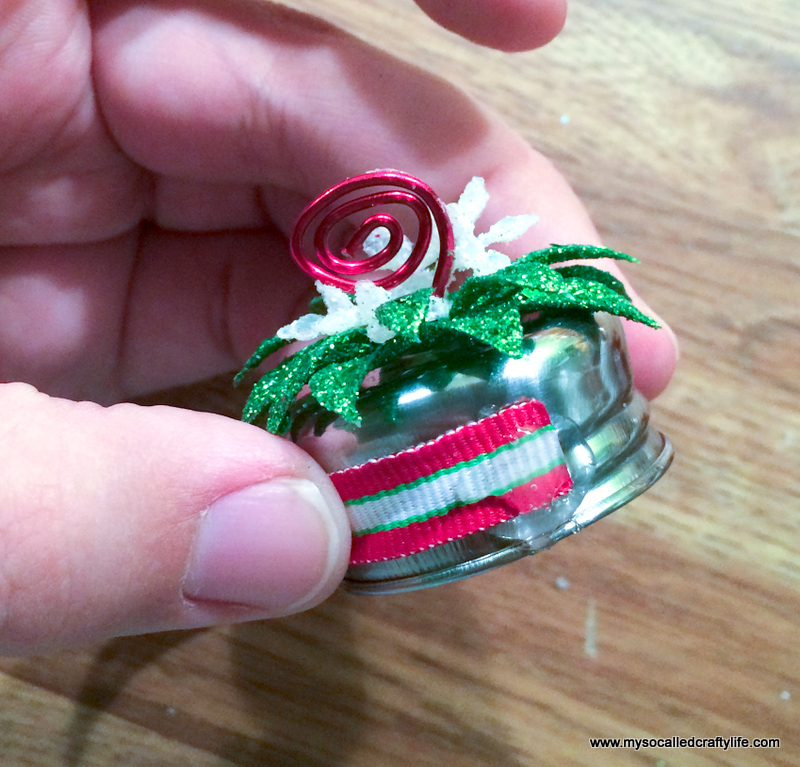
To make your top, start by clipping the stem off of your flower. Cut a length of wire about 4″ or so. Stick the wire through the center of the flower and through the center hole in the top of the shaker. Fold the bottom 1/2″ or so of the wire snugly to the bottom of the shaker lid.
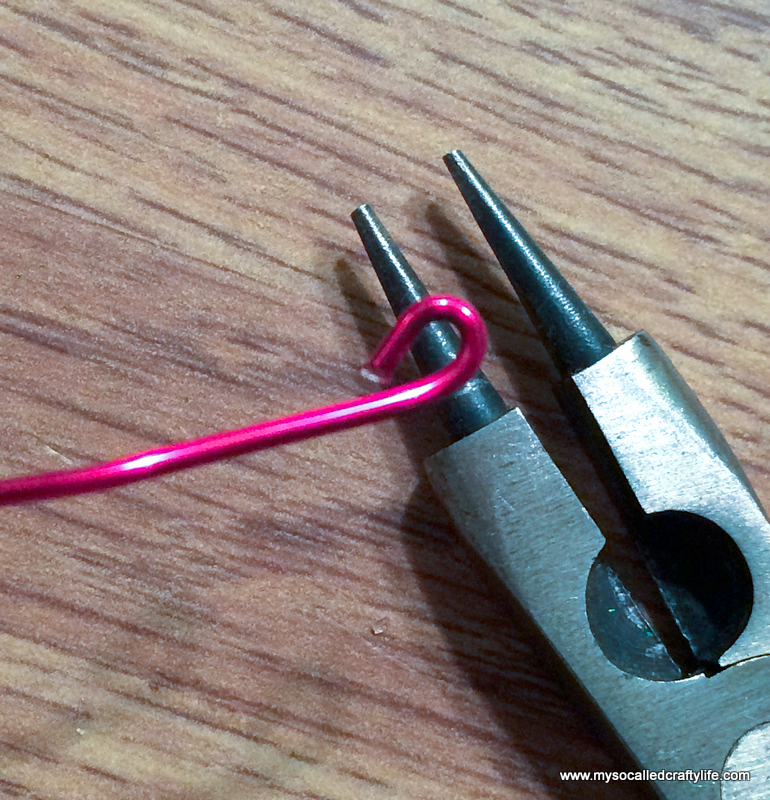
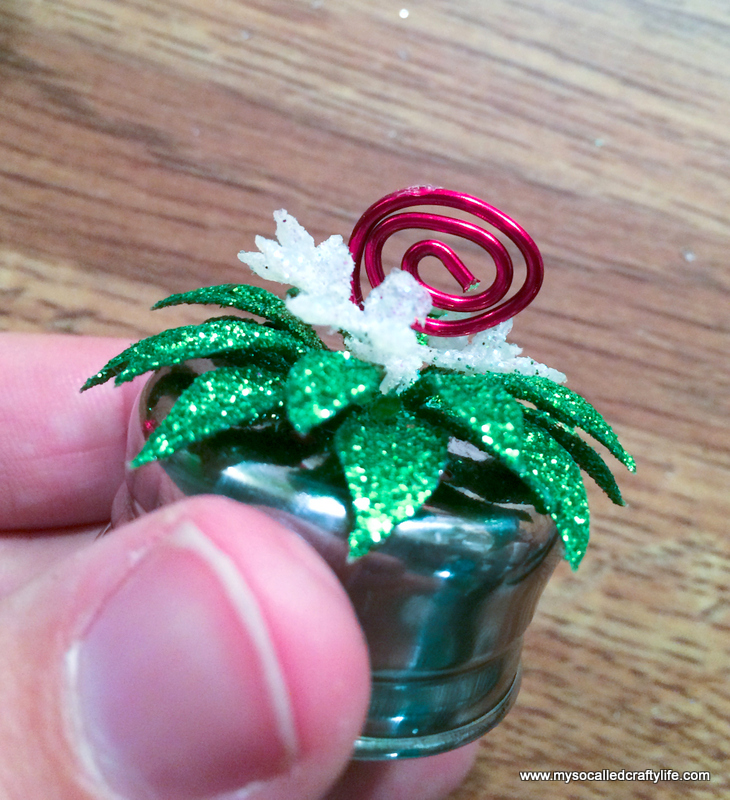
To make the photo holder, start at the top end of your wire. Make a loop with your pliers. Then, with your fingers loop the wire around itself in a spiral pattern to the bottom where it meets the flower.
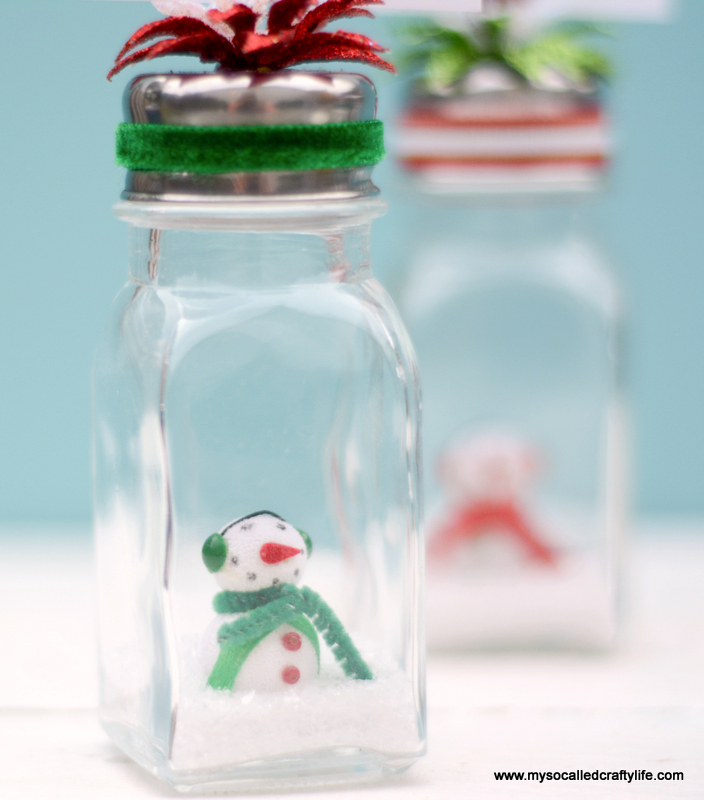
To finish your photo holders, glue a little trim or ribbon around the shaker lid. Screw the lid on and insert your photos into the wire between the spiral loops. If your glitter is super fine and comes out of the shaker lid easily, you may want to close up the holes in the underside of the lid with some tape or glue.
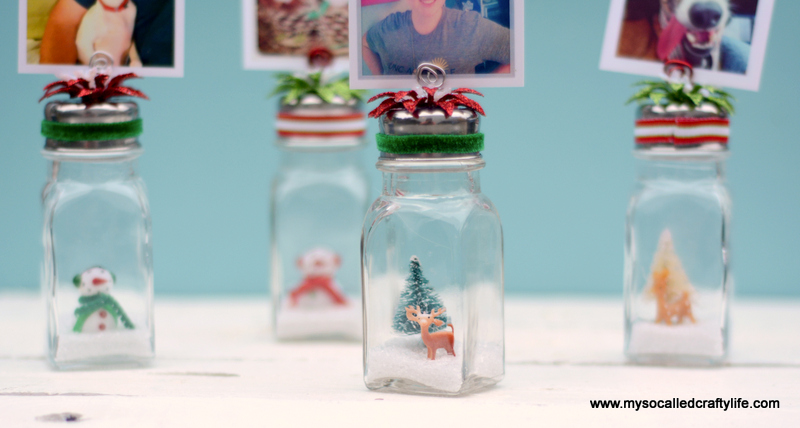
 Aren’t they so fun! I love my photo holders! They are a fantastic size! My little Printstagram mini prints are just perfect displayed on top! I think these would also make wonderful place card holders for your holiday table. The best thing about them is that you can make a group of them in under an hour. It is a perfect weeknight craft and would be a sweet gift for a hostess. I hope you all will give them a try sometime. I will be back tomorrow with more holiday fun! Until then…
Happy Crafting!
